A Design Page is where designs and lettering can come together to form a composition or a scene. That page is also represented as a single embroidery (or working) file. For example, you may have merged multiple embroidery designs, added a couple lettering designs, and then surrounded them with a Library frame. All those individual designs exist on the Design Page. That scene can be saved as an embroidery file for use in your machine, and it can also be saved as a ‘Working File’ (extension .BE), which allows for editing later. (Suppose you miss-typed some lettering.)
As Design Pages are opened or saved, their name will appear in the Tabs above the Main View. You can switch between Design Pages using the Tab View. This is handy for clipboard operations such as doing a copy and paste between Design Pages.

Each Design on a Design Page is one of the three types, ‘Embroidery Design,’ ‘Lettering Design’ and ‘Library Design.’ These design types work together to build useful embroidery compositions. The designs are visible on the Design Page in the Main View, and the sequence of the designs is visible in the Objects View.
Designs are collections of objects. For example, a merged embroidery design is a collection of color objects, each of which contains stitches for a single color in the design.
Designs may be ‘Grouped’ which allows you, the user, to select and move the design around in the Main View as a single design. By default, when you merge an embroidery design into the page, it comes in as grouped. If you want to change one or more colors (or objects) in the design, you have some options:
• Ungroup the design, which makes each object selectable in the Main View.
• Select the object or objects in the Objects View.
Designs as they appear in the Main View may be ‘Locked’ which prevents inadvertent moving or editing. The lock may also be used to hide the design(s). The state of the Lock is set using the Objects View toolbar.
Each Design on the design page can contain one or more objects, each of which contains colors, stitches and other information. The only objects you will see are individual color objects within a merged embroidery design. Each object can be moved, edited, deleted, etc.
Embrilliance uses a few different file types, each having its own file extension. For example ‘.BE’ is a working file. This file type contains all the Designs and Objects representing a single Design Page. These designs and objects can be edited, as they have not been forced to become a simple set of stitches, which is what most machine-embroiderable files are.
Licensed files, such as fonts will have .BF and .LF files. These are installed by the installer for our collections. You cannot edit or use these files as a user. The program loads them automatically as needed.
Stitch files, which in the commercial embroidery trade are called ‘expanded’ files such as .PES or .DST are simply collections of stitches, and if you are lucky, colors.
When you save a Design Page it will ask you to choose which Stitch File type you want to use. For example a Baby Lock / Brother embroidery machine owner will choose .PES as the stitch file type. In addition, the program will also silently save a working file (.BE) thus saving you the extra step of saving it separately. As mentioned earlier, the working file allows you to edit your designs including text. If you want to save individual files (not both stitch and working) you have all the options on the File menu.
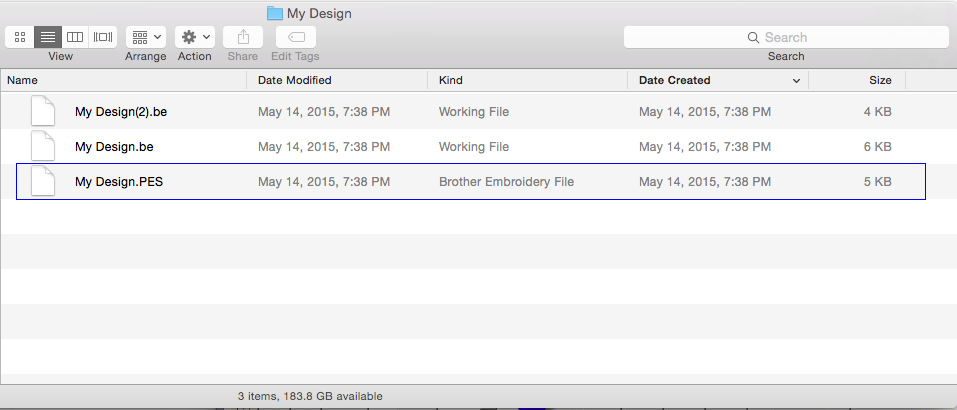
Each design page is given a unique code when it is created. When saving a working file (.BE) which represents a design page, that code is saved in the file too. Subsequent ‘Saves’ will check the code for the design page. If it is different, the working file being saved will be given a revision number in its name such as “(2).”
The purpose for this can be explained in the following scenario:
Suppose you create a page with lettering or StitchArtist objects. These objects contain far more information than stitches. Now you do a normal ‘Save’ which saves the Stitch File and the Working File. Ok, all normal so far.
Next, you ‘Open’ the stitch file to see what it looks like, which actually creates a new design page and merges the stitch file onto it.
Perhaps you make a small edit – color or stitches, etc. You want to save what you’ve just done so you click ‘Save’. The program lets you pick a name, but you’re happy with the one you’ve got. Now the operating system asks if you want to ‘Replace’ the files since the names are identical. You think, sure, I’ll replace it, forgetting that you’ve ‘Opened’ with the Stitch file, not the original Working file.
If the program did not check the codes, it would save the ‘new’ working file over top of the original one, which had all the object data. But in this case, the codes don’t match so you get a new version working file. The stitch file will be overwritten, as it has no object data to be concerned about.
Files can be ‘opened’ which starts a new Design Page in the Main View so that you can see the open file. Use Open for .BE files.
If you already have a Design Page open, you can ‘merge’ files, which adds the contents of the files to whatever you have on your page currently. To merge a file click on the Merge icon on the Toolbar or go to File/Merge Stitch file or Merge Working file.
Note: When you ‘Open’ a stitch file from the operating system (for instance double-clicking on a .PES file) you are actually creating a new design page and merging the stitch file into it.