Sizing and positioning of design elements can also be accomplished using the Size and Position controls panel located on the Tool pane. The first control on this panel sets the unit of measure for the design page. The choices are millimeters and inches.


The width and height of a selected design element can be precisely set by entering the desired value in the width and height text box and pressing the enter key. If an exact size is not known, the element can be sized as a percentage of its original size by entering a percent value in the percent text box and pressing the enter key.

These controls are also updated as a design element is moved or re-sized using its handles.
The element is scaled proportionally if the Scale Proportionally control is locked, otherwise height and width changes are applied individually.

Locked—Scale Proportionally

Unlocked—Scale Height and Width Individually
Note: If you have sized an element and want to return to its original size, simply lock the Scale Proportionally control and enter a value of 100 in either of the percentage fields. Embrilliance will remember the original size even when you reopen the design at a future date.
The next four controls mirror and rotate selected elements. Mirroring is about the horizontal or vertical axes. Rotation is clockwise or counter clockwise in 90 degree increments with the pivot point in the center of the selection. Alternatively, you can enter a specific value for the degree of rotation. Enter a positive value to rotate counter-clockwise and a negative value to rotate clockwise.
 Centering in the Hoop can
be accomplished by this button, although it is not necessary because, as a rule,
designs are centered when stitch files are saved. This is also available
from the Utility menu.
Centering in the Hoop can
be accomplished by this button, although it is not necessary because, as a rule,
designs are centered when stitch files are saved. This is also available
from the Utility menu.
 Alignment of multiple items can be set using the Align button, which
will open the Align and Distribute window. Alignment will place the edges or
centers of designs all on one line.
Alignment of multiple items can be set using the Align button, which
will open the Align and Distribute window. Alignment will place the edges or
centers of designs all on one line.


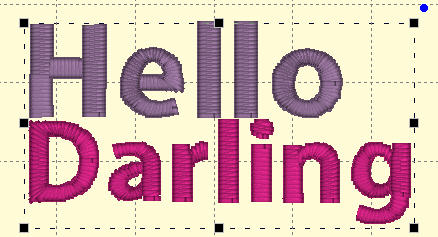
If you have two or more items selected, you can align them. For example, these items are Aligned Left:
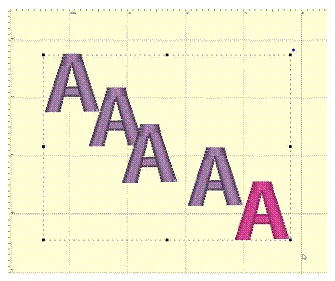
Distribution is different from alignment. Distribution places designs equidistant across a distance. This is useful if you want to make regular patterns, such as a tiled design. If you would like items distributed across an area, move the first and last items to the outside areas that you want to fill. In this example, the (top, left) ‘A’ and the (bottom, right) ‘A’ make the design size. But notice how the ‘A’ designs between those are not placed regularly? Distribute will make those ‘A’s into an orderly row:
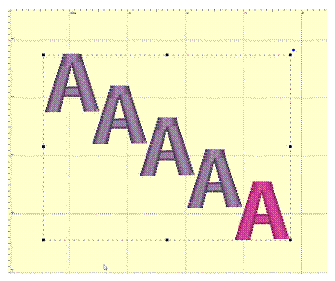
Using ‘Center’ distribution will distribute these letters evenly, based on each letter’s center.
If you choose a different edge to distribute with, for instance, Left, then the distribution will be made using the left edges of all the designs. This can be useful to create a geometric composition with different sized designs.